Sponsors

Around the web
Popular Recipes

Entries in garden (81)

Friday
Apr022010

Vegetable Garden Update

spinach & broccoli

Remember when we built our raised vegetable garden? Well... It's working! I have food growing in my yard. I love it, a lot. The spinach plants are doing really well and I sampled a little leaf today. The broccoli has taken off too. The variety we have though doesn't yield the big heads of florets like you see in the grocery store. As a result we missed a bit of our crop because we were letting them get big, but then they went to flower and turned bitter. We read up on when to trim the broccoli plants and promptly went down there and chopped, chopped, chopped!

broccoli harvest

That's our harvest of broccoli and we cooked it up in a stir fry. Yum! Now I'm waiting for some tomatoes. Look at these beasts! Oh, my!

tomato plants

Monday
Mar082010

Raised Vegetable Garden, Part 3

Raised Vegetable Garden, Part 3
Getting soil and plant crops
See Part 1 here.
See Part 2 here.

raised garden bed - soil time

Now comes the fun part, playing with dirt and planting seeds! We used a mix of garden soil, compost, peat moss and manure. The entire bed took about 36 cubic feet of this mix. We broke it down like this, 12 cf of garden soil, 12 cf of compost, 9 cf peat moss and 3 cf of manure. We layered about a third the different ingredients in the bed at a time and mixed them together with a garden fork. Once that was done I couldn't wait to get planting.

new plants in our new vegetable garden

We bought some small plants that were already started. Things like tomatoes, bell peppers and broccoli. The rest of the crop we started from seed. Our final planting consisted of eggplants, scallions, spinach, hot peppers, three varieties of tomatoes, green bell peppers and four heads of broccoli. I can't wait to see the crops start sprouting and flowering!

raised garden bed

Sunday
Feb282010

Raised Vegetable Garden, Part 2

Raised Vegetable Garden, Part 2
Cutting the lumber and assembling the bed
See Part 1 here.

sawing and drilling

To get the log cabin effect we have with the boards we needed to cut three boards in half. We measured to the middle and marked the cutting line on all four sides. Since we do not own a saw big enough to cut through the wood in one pass Thomas cut one side, then we rotated the board and he cut again. Once the cuts were made we assembled the vegetable bed on the patio to make sure it fit together the way we had hoped. It did!

Before moving the lumber to the lower part of the yard we pre-drilled all of our assembly holes. Using an 18" 1/4" drill bit we made three pilot holes in each corner of the bed, one directly in the corner and one 8" in from each edge. Next we made the holes larger with an 18" 1/2" drill bit which will accommodate the rebar. The 18" drill bit isn't long enough to penetrate all three boards. Not to worry, this is good! That means what looks like the top in this photo is really going to be the bottom of the garden and vice versa. And that also means all the rebar is hidden from view and your garden will look hardware free!

Take the time to mark the boards in their current order. Label which board goes where so after you've moved the boards they'll be in the right place and your drill holes will line up perfectly. Now, it's time to move the boards into position. Have I mentioned how heavy 6x6 lumber is? I haven't? Yeah, well it is. Really. Heavy.

heavy logs

And we had quite a hike to take with our boards. Phew.

securing the garden

Build the bed on your nice leveled earth. When you reach the second row of boards you can set the rebar in place and hammer it into the ground until only about 3-4" is exposed. Set the final row of boards in place and go have a cold beer because you've done a good job.

Click here for Part 3 where we get the soil and plant our crops.

Thursday
Feb182010

Raised Vegetable Garden, Part 1

raised garden bed

Raised Vegetable Garden, Part 1

Planning your bed and leveling the earth
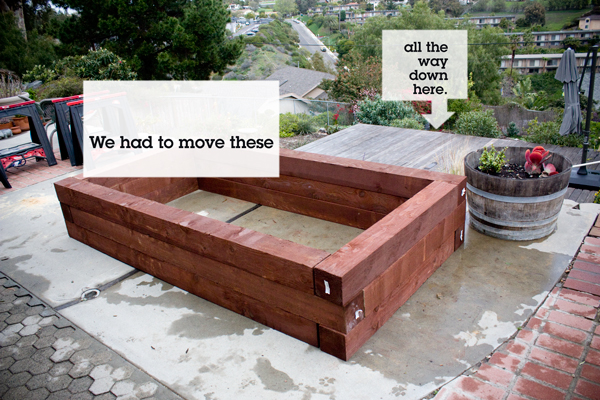
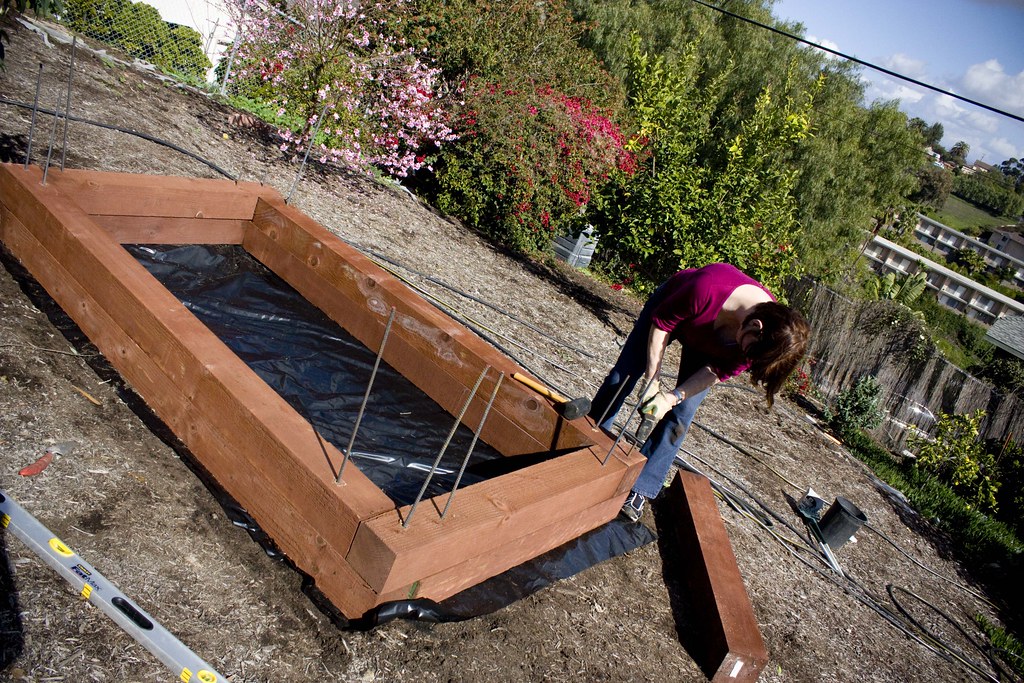
Finished dimensions: 102"L x 42"W x 18"H

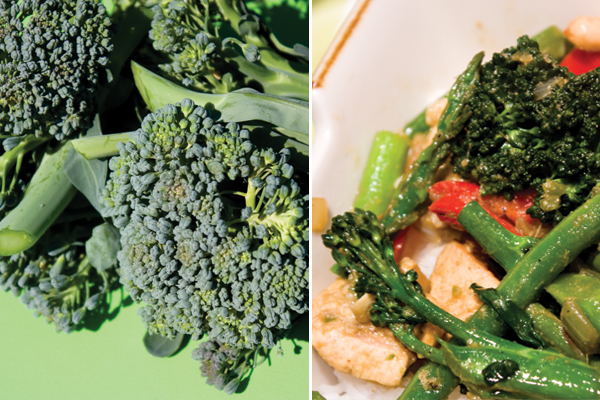
Creating a vegetable garden in your yard can be a fun and exciting undertaking. You'll get to grow a variety of different plant and you'll also reap the benefits of eating the freshest possible foods. It can be very rewarding but also a lot of work so be sure you have the time in your schedule to tend to your garden before you build it. Take the time to plan your garden.

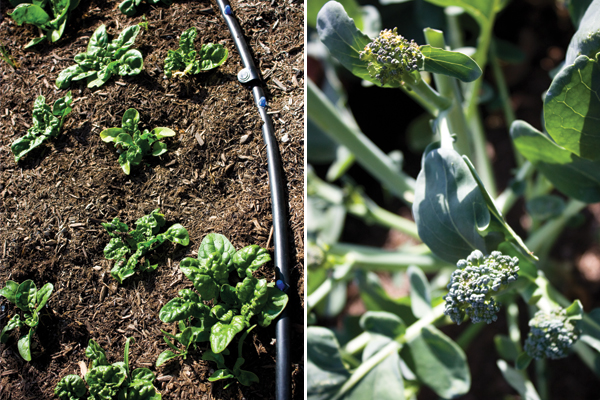
Choose a space in your yard that has enough sunlight to accommodate the kind of plants you want to grow. Most vegetables need about six hours of sunlight a day. Another thing to consider is water. Your veggies will need a healthy amount of water to grow and give you a good harvest. If you already have plumbed waterlines that operate in your yard, you could run a drip irrigation system to your new bed. If not, a hose works just as well but just remember to water your seedlings at least every other day and possibly more often as the summer sun begins to heat up.

Lastly, and most important for me, is garden pests. Are there a lot of squirrels, rabbits and gophers in your area? You may want to put some wire mesh at the base of your bed to stop animals from burrowing under your garden. Do you have dogs that like to dig? I have two dogs that love to run and that is the main reason this bed is 18" high. Take the time to consider your life and your yard before you rush to the store, you'll be happier in the long run that you took the time to plan the garden that works for you.

Now that you're ready to get planting, here's everything you'll need.

Supplies:
9 6x6" pressure treated lumber, 8' long
12 3' pieces of rebar
heavy black plastic
wire mesh
36 total cubic feet of soil, compost, peat moss, and manure
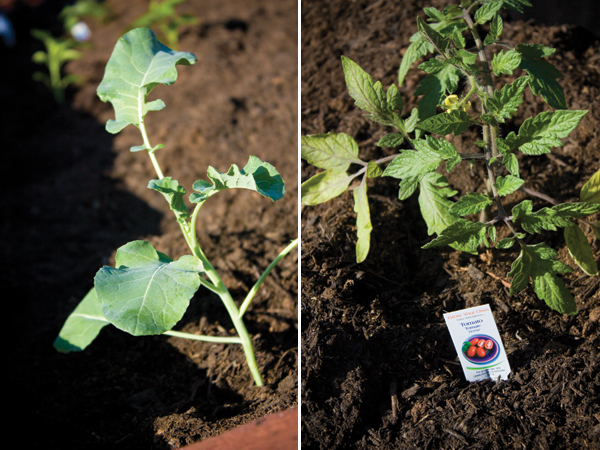
plants and seeds

Tools required:
circular saw
18" drill bits, 1/4" and 1/2"
tape measure
4' bubble level
rake
spade
shovel
rubber mallet
sledge hammer
scissors
staple gun

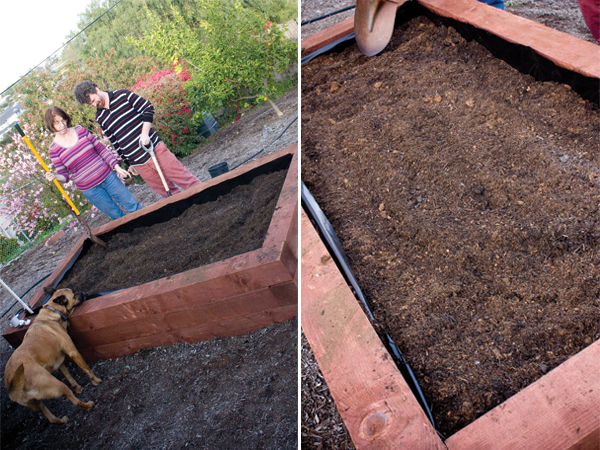
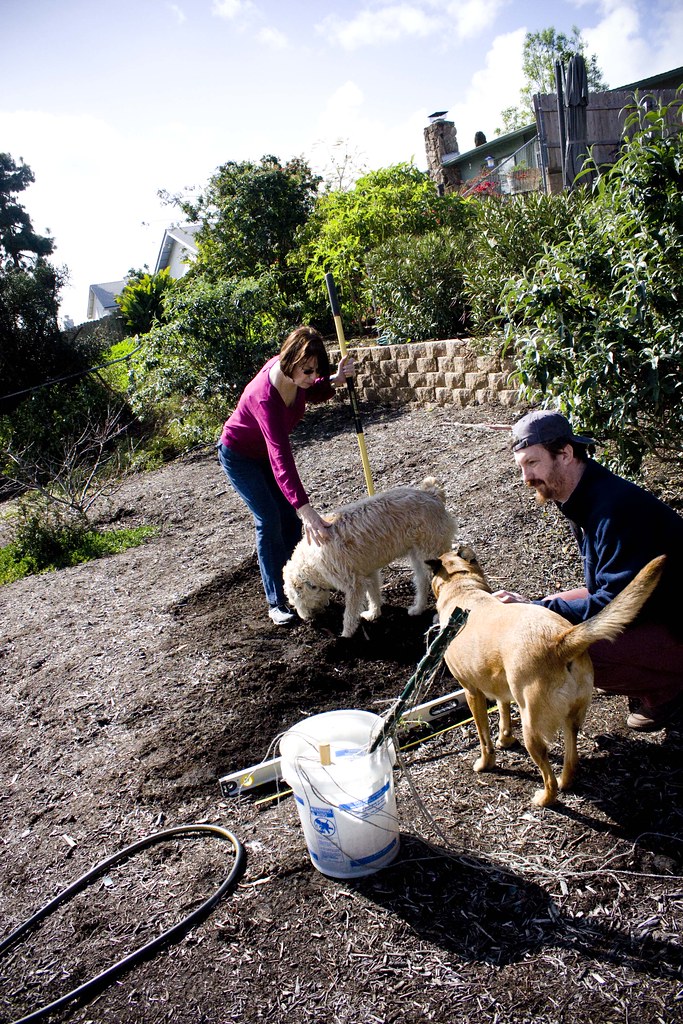
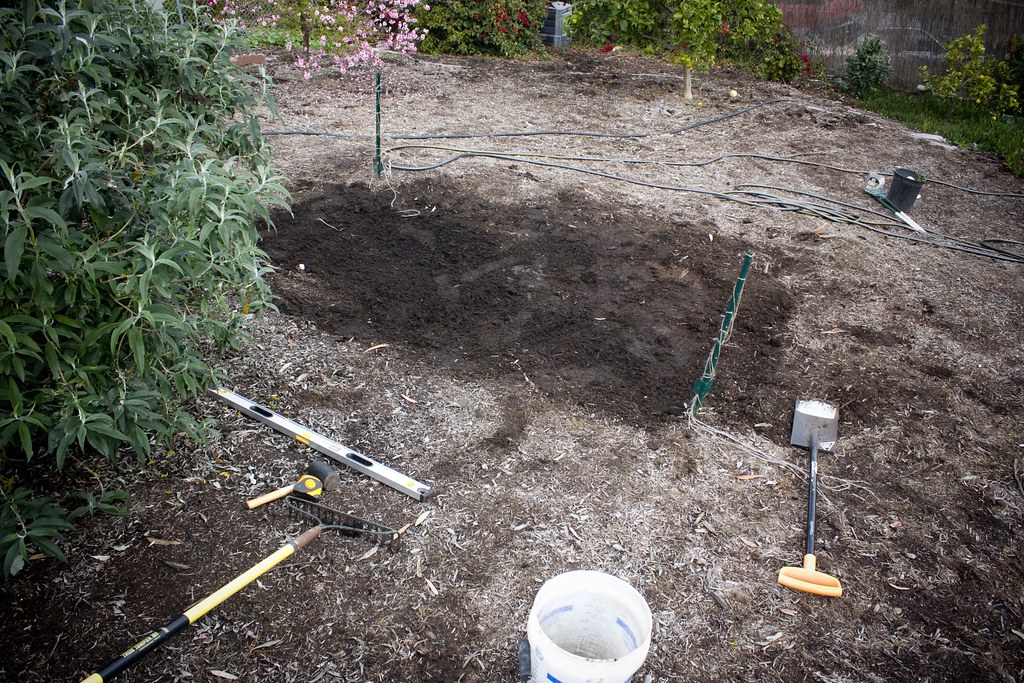
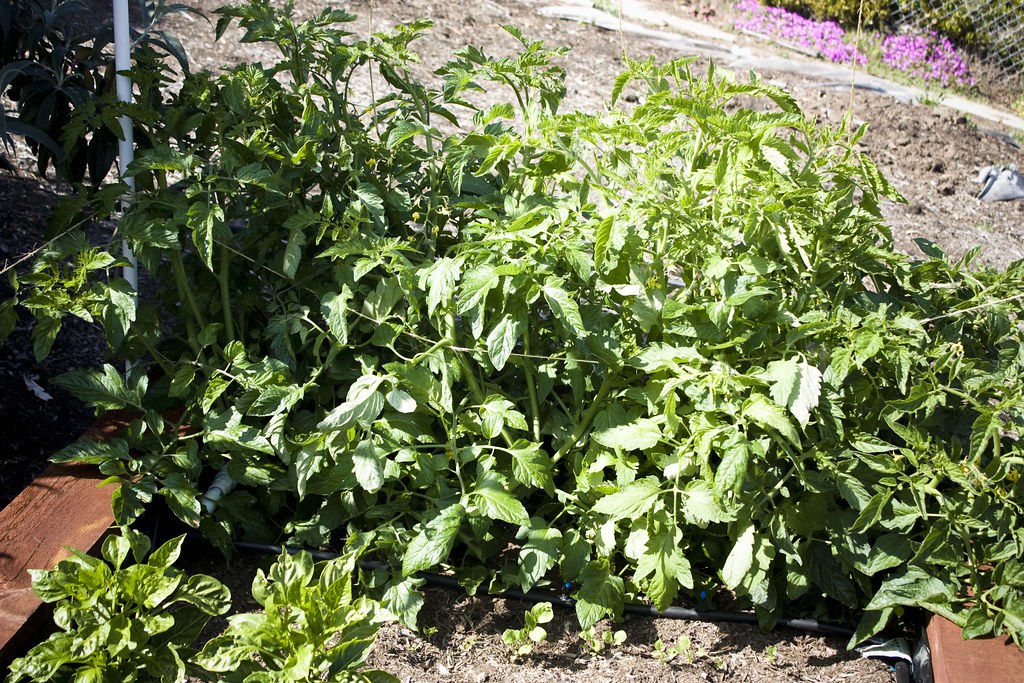
To begin the raised vegetable bed you will need to create a level space in your yard that is large enough to accommodate your new garden. We chose a fairly flat space near the bottom of our yard. We measured the space and roughly staked out the area we planned to level. Using a metal rake we and the 4' bubble level we evened out the area where the boards would eventually sit. And as you know, a job can't be done around here with out the help of two furry friends.

leveling the ground

We finished up the leveling and measured out exactly where the boards would go. It's a good idea to place your stakes in each corner then measure each edge and then measure corner to corner. This will help ensure you have a squared and even plot of land.

leveled earth

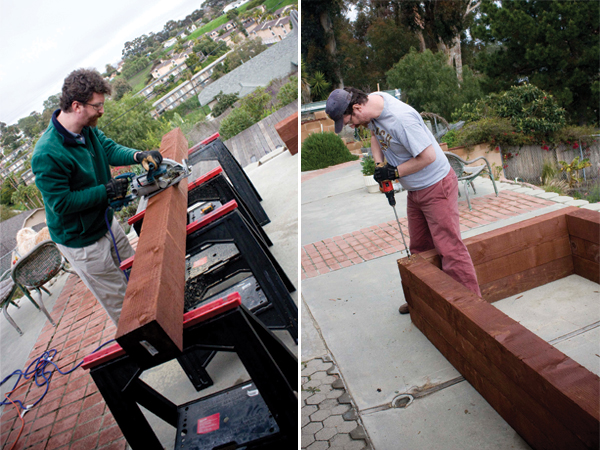
See Part 2 where we cut the boards and build the bed.

Monday
Feb152010

Veggies coming soon!

raised garden bed

At least I hope they'll be coming soon anyway. I am seriously over the moon to show you my newest endeavor. A big raised vegetable garden! I can't wait to see little seedlings peeking out of that big pile of dirt. I will be posting the whole story over the next few days, so check back to follow along!