In this digital age, I think having a well designed tactile portfolio is still very important. There is something so rewarding about seeing your work compiled into a neat collection that you can sprawl out in front of a potential employer, saying, "Look what I've done."
Graphic designers are generally humble about their own work, never thinking it's finished. When it comes to showing off your portfolio at an interview, however, it needs to impress you and the interviewer. If you can lay out your work and say, "I did this, and this, and this," the pieces do not show as individuals but rather as a full and complete style. It shows you, the designer, to the person you hope will give you a big fat paycheck.
To get that paycheck though, your portfolio needs to look clean and professional. It needs to be current and dynamic.
For my graphics portfolio I have a Spink & Gabor archival, leather case. They are beautifully made and I recommend them to anyone looking for a good quality case. (Phone number: (973) 478-4551). My case holds 15x20 inch boards. I think it is a good size to display a wide range of work.
OK, let's get started. First, clear off a large flat work area. A table or the floor will do, just be sure there is no dog hair or left over pizza nearby. And move that cup of coffee, get it away from here! Wash your hands. Then, gather all your supplies.
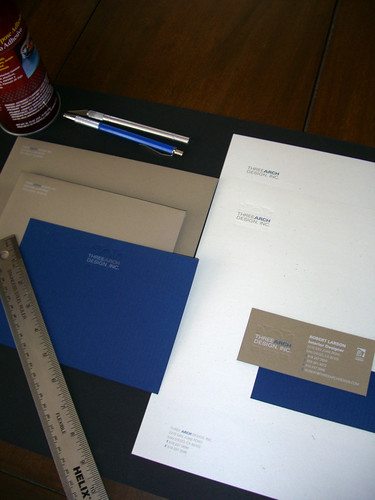
You will need:
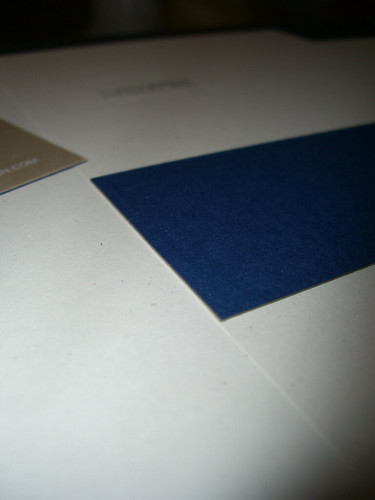
Matte board, cut to the right size and clean
Project, all the pieces you're going to mount
Ruler
X-Acto blade
Pencil
Spray mount or Studiotac
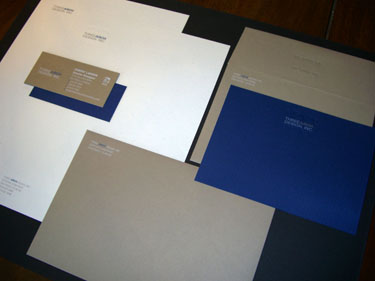
Then test some different layouts. As in design, your first idea is not always your best idea, so go ahead and move them around until you find the best placement. Choose the layout that best displays this project while keeping in mind the integrity of the rest of the portfolio.
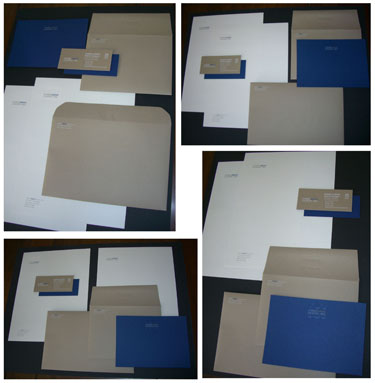
I've decided to go with the layout on the top right. I think this reads well, distributes the color around the board and shows of each piece and makes them look like a cohesive unit.
Next, choose a margin size. I am working with 5/8" around the perimeter. The inside gaps will be smaller, but still uniform.

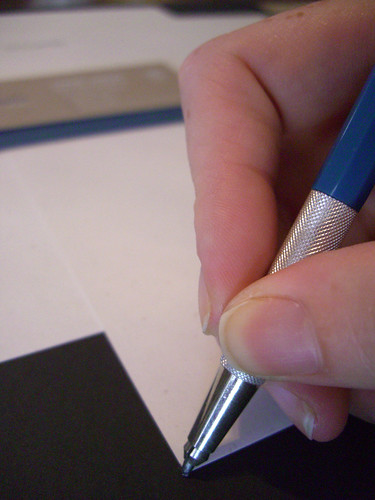
When you've measured and lined everything up, begin marking the placement. Mark just under the edge of the project pieces, the glued items will hide any pencil marks.
Now it's time to begin gluing the pieces to the board. Neatly clear off the board and set the loose items aside. To start gluing, choose the largest item that sits on the bottom behind the other pieces. For me it is the letterhead second sheet. It is in the top left corner, the cornerstone of my board.
Go ahead and glue the back of the item. If your using spray mount go outside and spray. If you're in a dorm then find a large piece of cardboard to set on the floor in the hallway. Because if you just set the project on the floor and spray away, it will leave sticky adhesive that grabs every speck of dirt from the shoes of all your friends. And because you were intelligent enough to do this RIGHT OUTSIDE YOUR DORM ROOM, you might end up scrubbing the dormitory floors. (This never happened to me.)
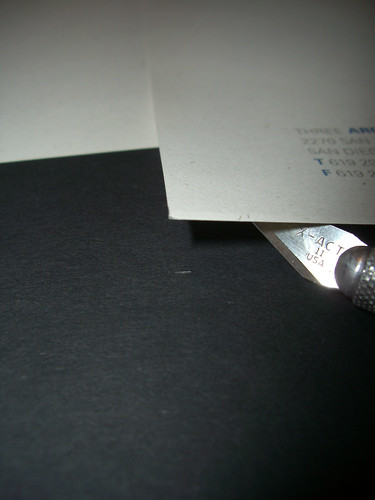
Once your item is glued, hover it over your board making sure not to touch it down until you've lined it up and concealed the pencil marks. I use an X-Acto knife to position more carefully.
Continue gluing one piece at a time, take your time and follow your placement carefully.
Soon, you'll have a finished portfolio board!
Good luck!